
Dynamic Ship uses the EasyPost services to communicate with the various carriers. You must register on the site.
Administration
- Sign up for an EasyPost account.
- Configure an administrator email account as “sh******@****in.com”.
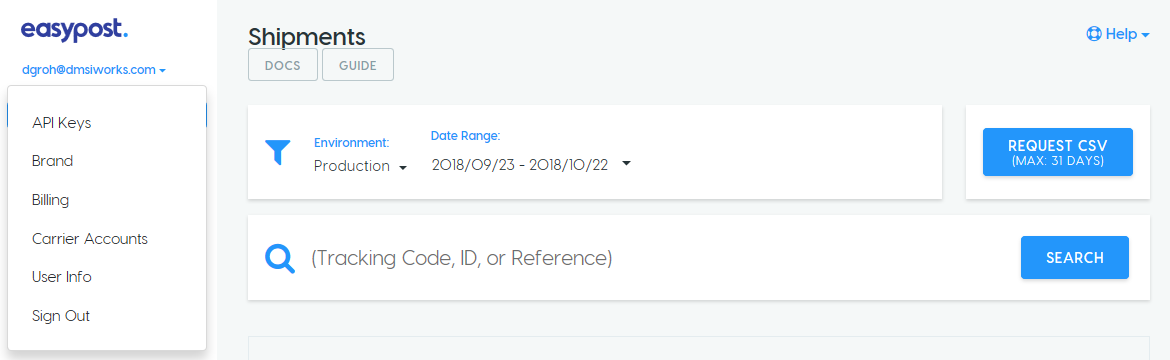
Billing
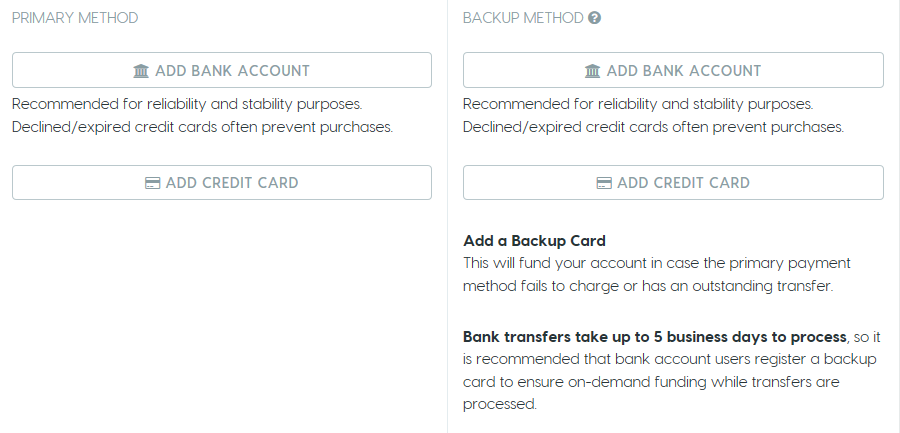
Billing information does not need to be provided if only the test environment is used (see Test API Key below). Once you start testing against the production system, you will need to enter billing information since you will be buying labels from the carrier at that point.
For bank transfers, see EasyPost’s Billing and Payment Guide for information. For Credit Cards, specify a main card and a backup card under Billing.
API Keys
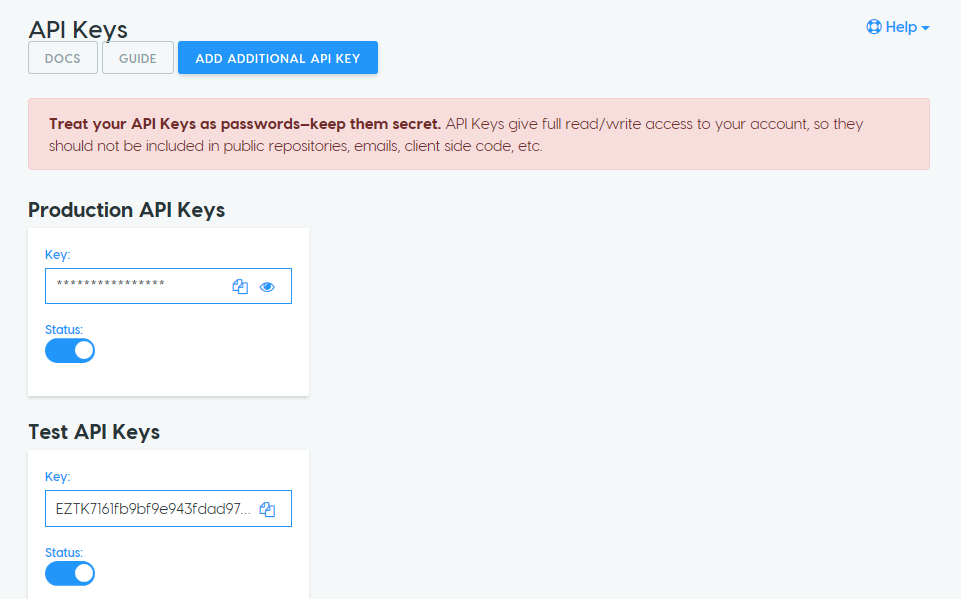
Obtain the API Key (needed for the Dynamic Ship configuration) from the API Keys menu. Enter the API key into the Freight Integration Providers screen.
API keys are assigned by EasyPost upon creation of the account.
Carrier Accounts
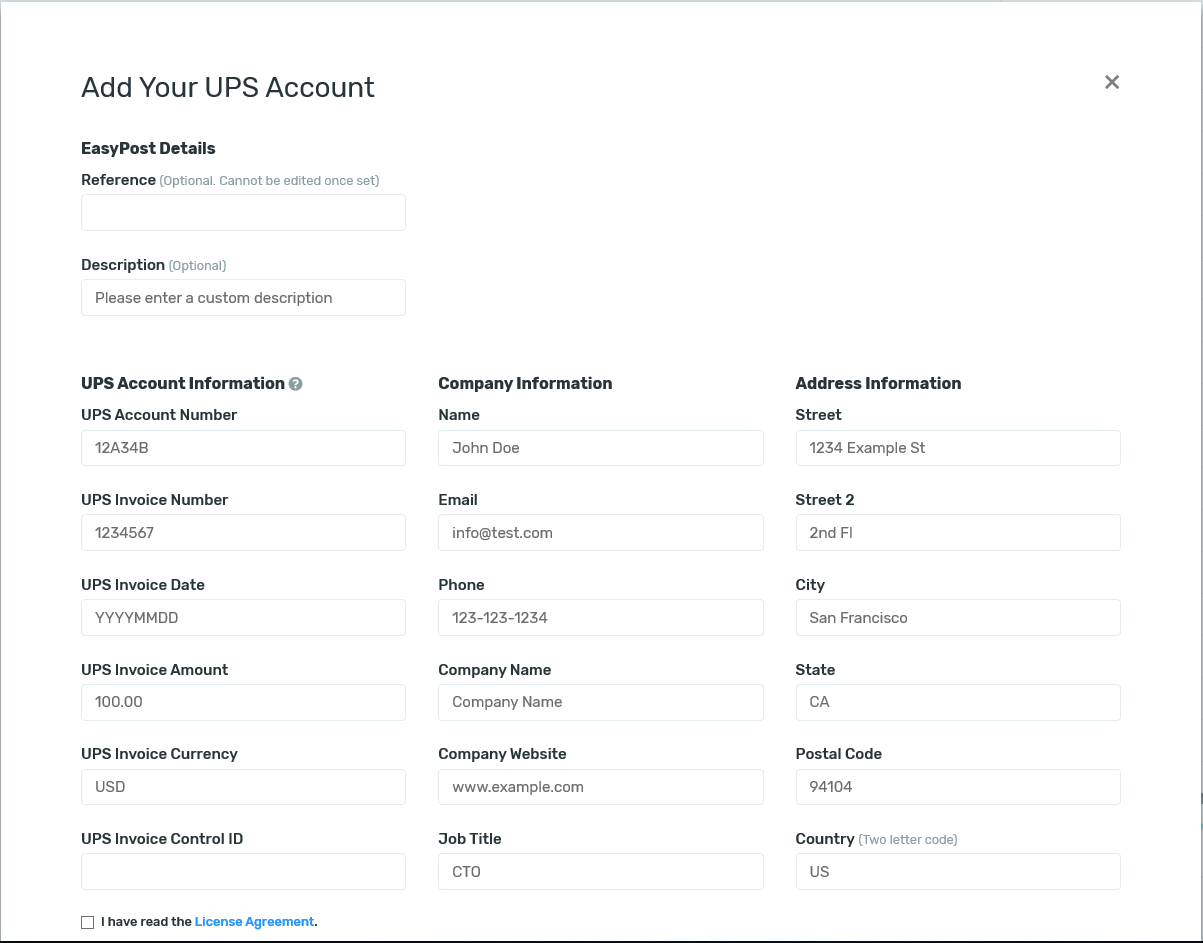
Set up a carrier account for each carrier that you would like to use from within Dynamic Ship. An ID is assigned to each account you create, and that ID is supplied to Dynamic Ship. Each Carrier may require different information to set up an account in EasyPost.
There are several fields that must be completed to set up a carrier account, and each carrier may be different. For UPS, you need the account number, the last Invoice, and Invoice amount. The following is an example of an EasyPost carrier setup screen for UPS:
Still need help?
Ask other Business Central users in the Insight Works community, or send the details to the support team. Include the steps you took and any error message you saw.