
Step 11 of 12. Follow these articles in order.
This section is a very high-level overview of posting time and shop floor data. Shop Floor Insight provides options to change production order costing, and optionally apply overtime costs to production orders.
Pre-Requisites:
- To Post time you must have the “Post” function permission selected for your user ID.
- You must have the appropriate Business Central permission sets to post to the document type that you have collected time with. For example, if you are collecting time for production orders, then you must have enough Business Central permission sets to allow posting production orders. Shop Floor Insight does not replace this permission setup.
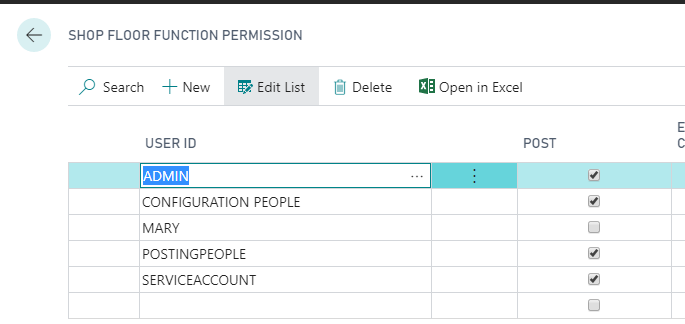
Ensure your user has the “Post” flag checked as a pre-requisite in Shop Floor Function Permissions.
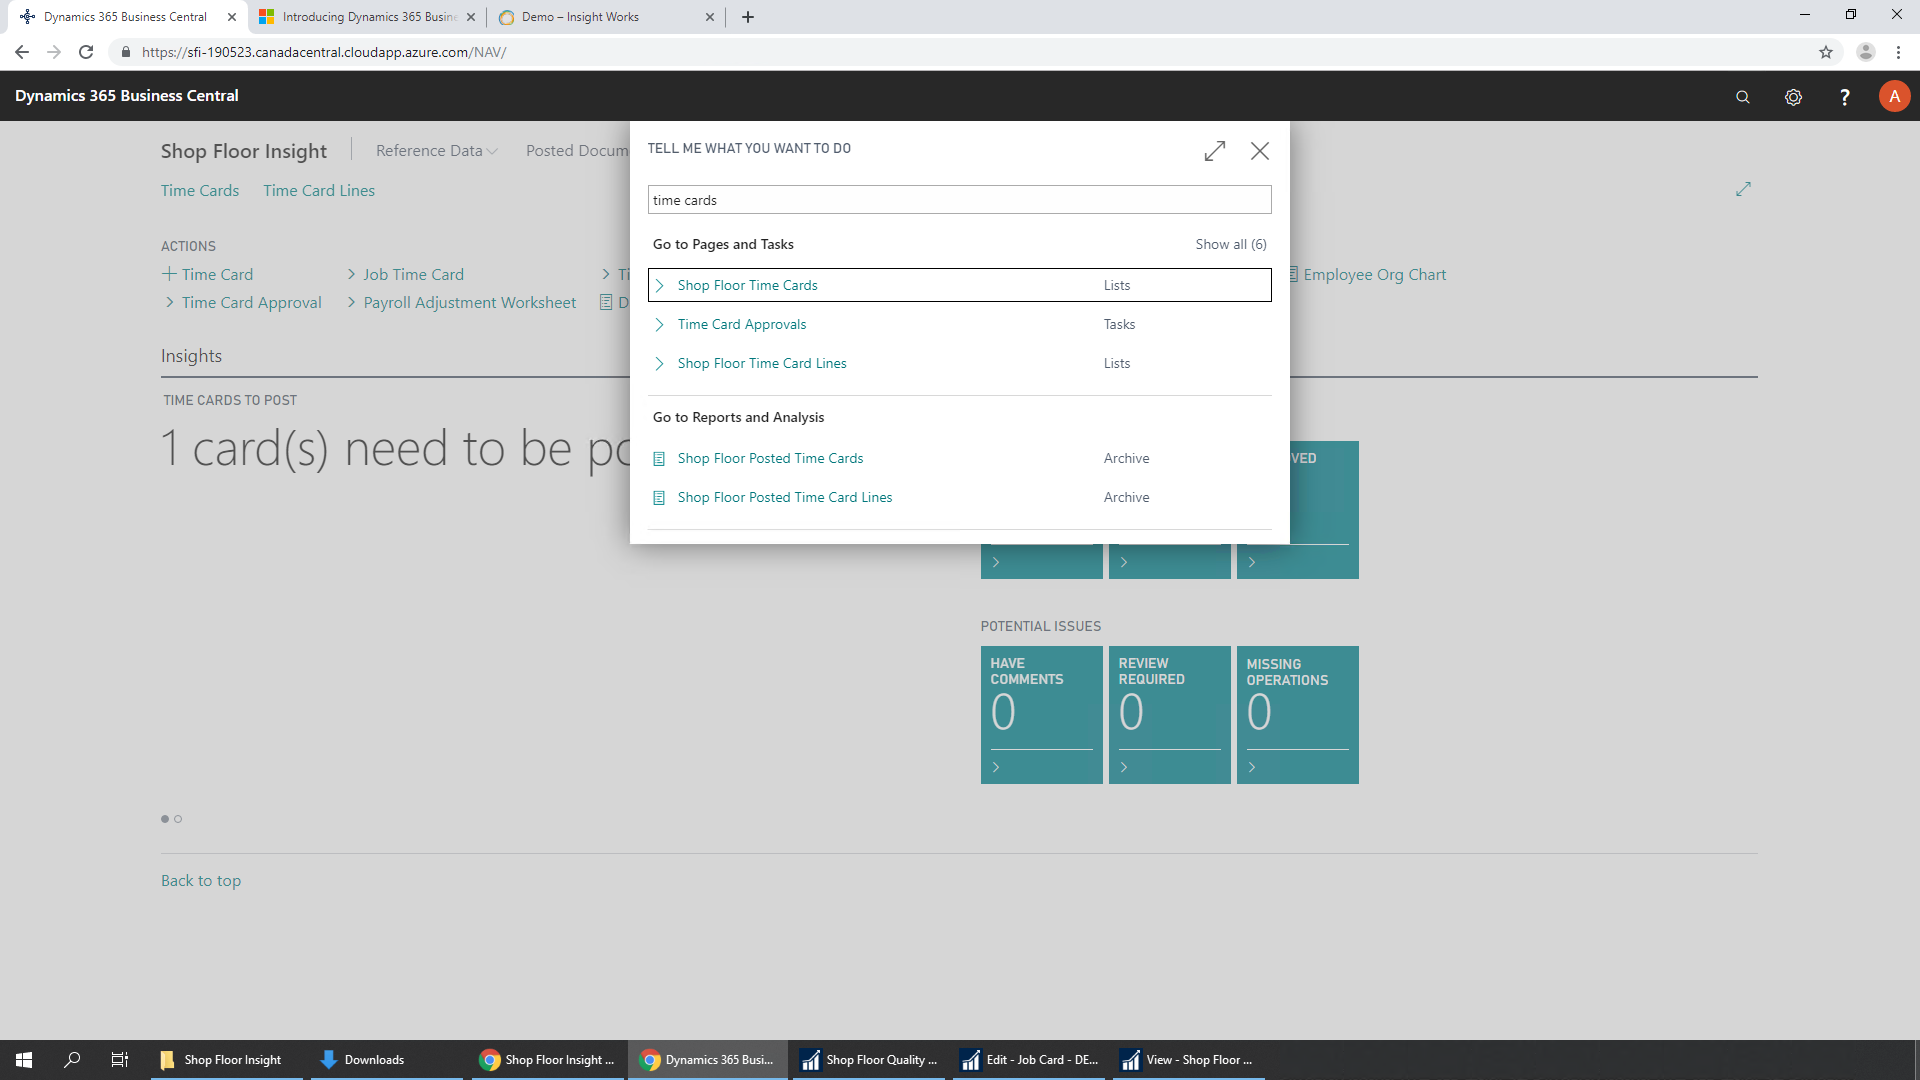
Navigate to “Time Cards”.
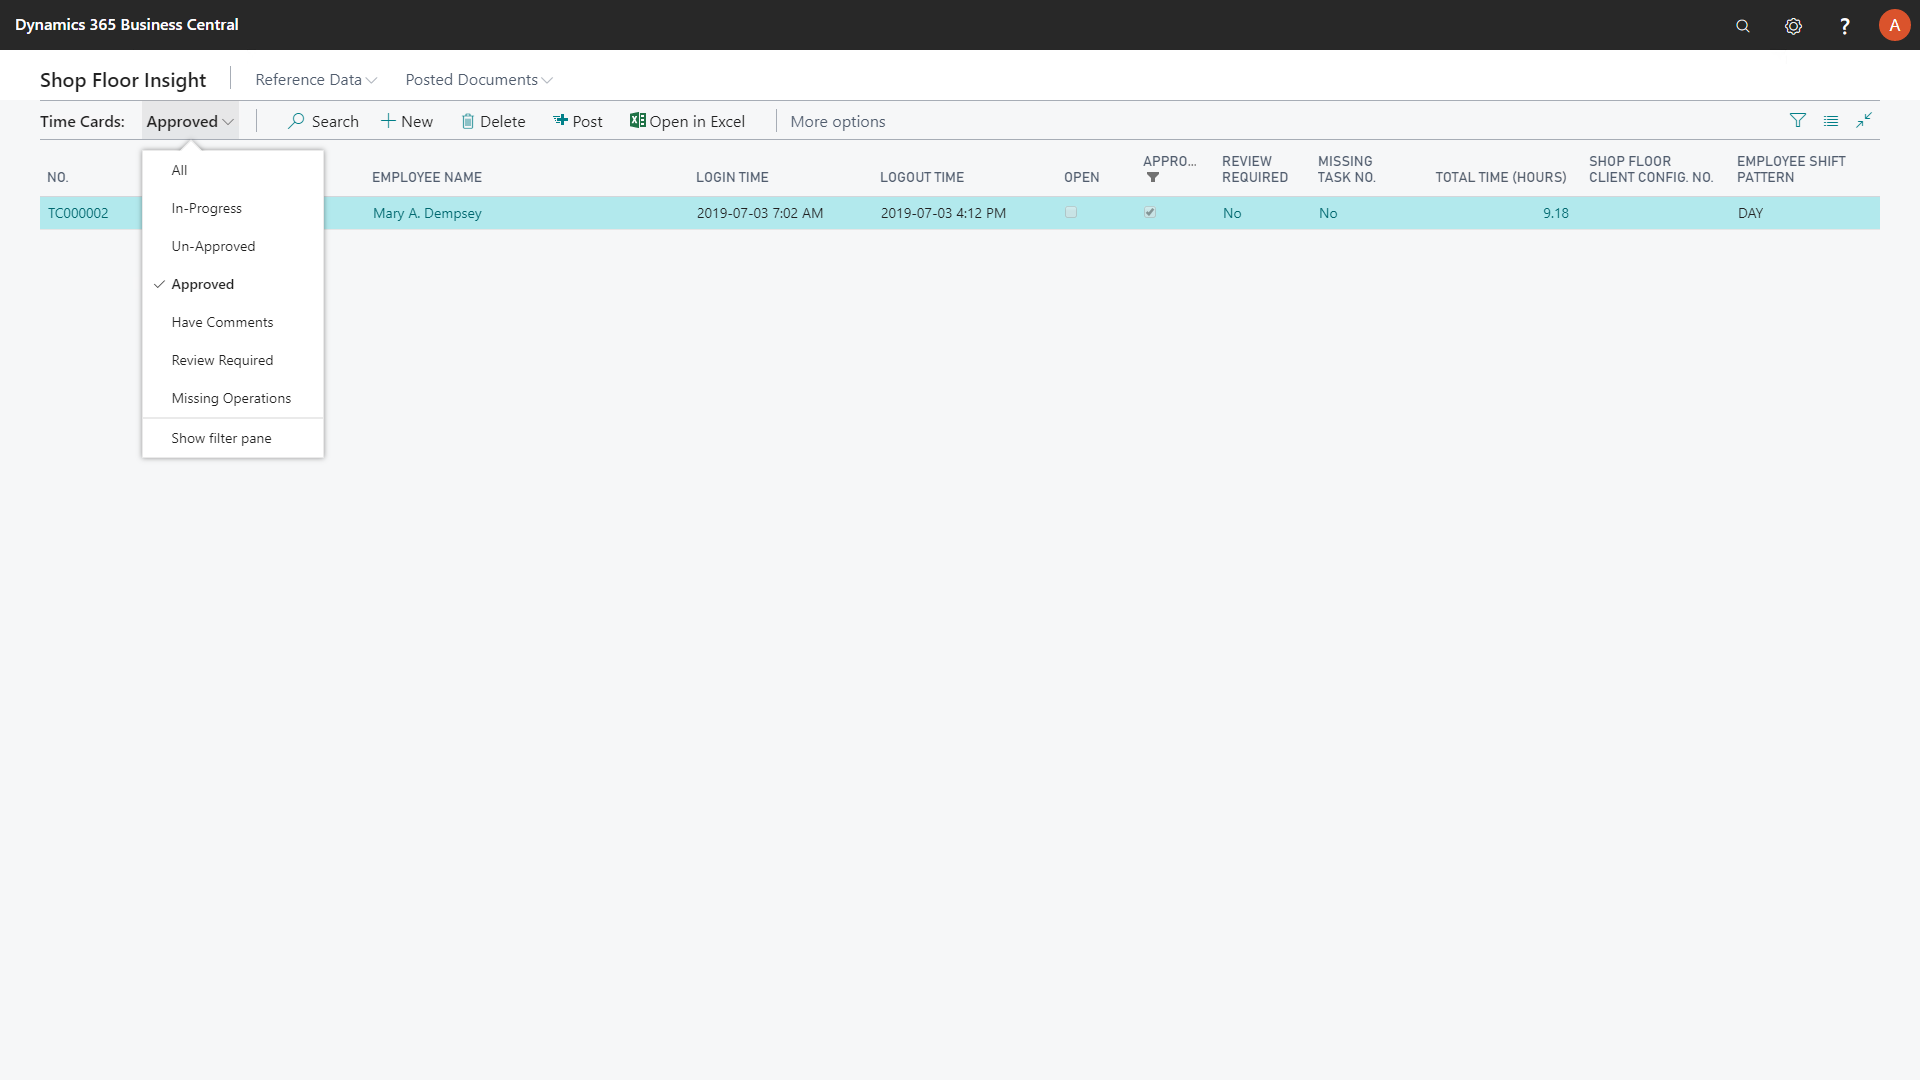
To post multiple cards at once, filter to the approved time cards only. Quick filters can be available on the left as depicted below if the Shop Floor Insight Approver role center is used, otherwise quickly filtering to “Approved” cards will work. Unapproved time cannot be posted.
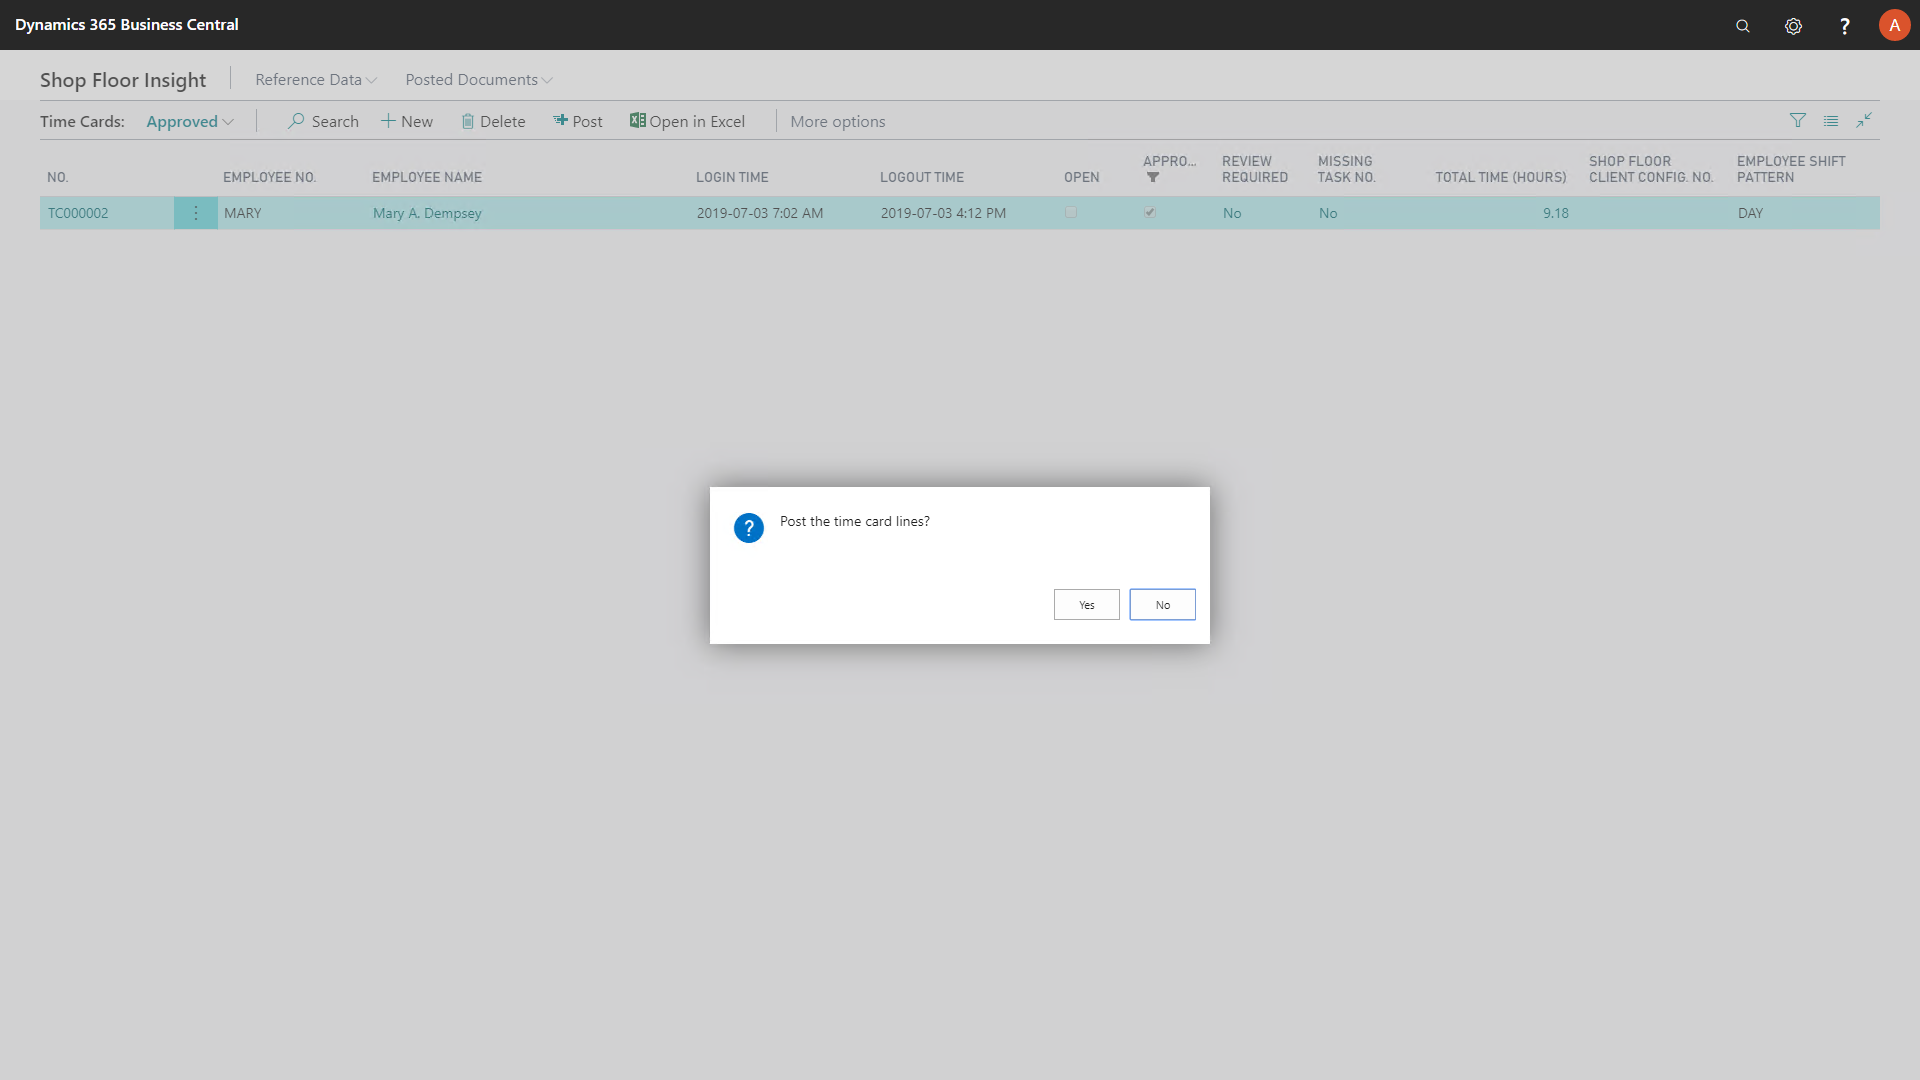
Further filters can be applied if necessary. After the time cards have been filtered, choose “Post” from the action list. This will attempt to post all time cards within the current filter.

A prompt will start asking to post the time card lines, choose “Yes”.
If any Business Central errors occur, then posting will stop and will need to be resolved. Once a card is posted, it will be converted into a “Posted Time Card”. Posted time is available to export.
To review a posted time card, navigate to “Posted Time Cards”.
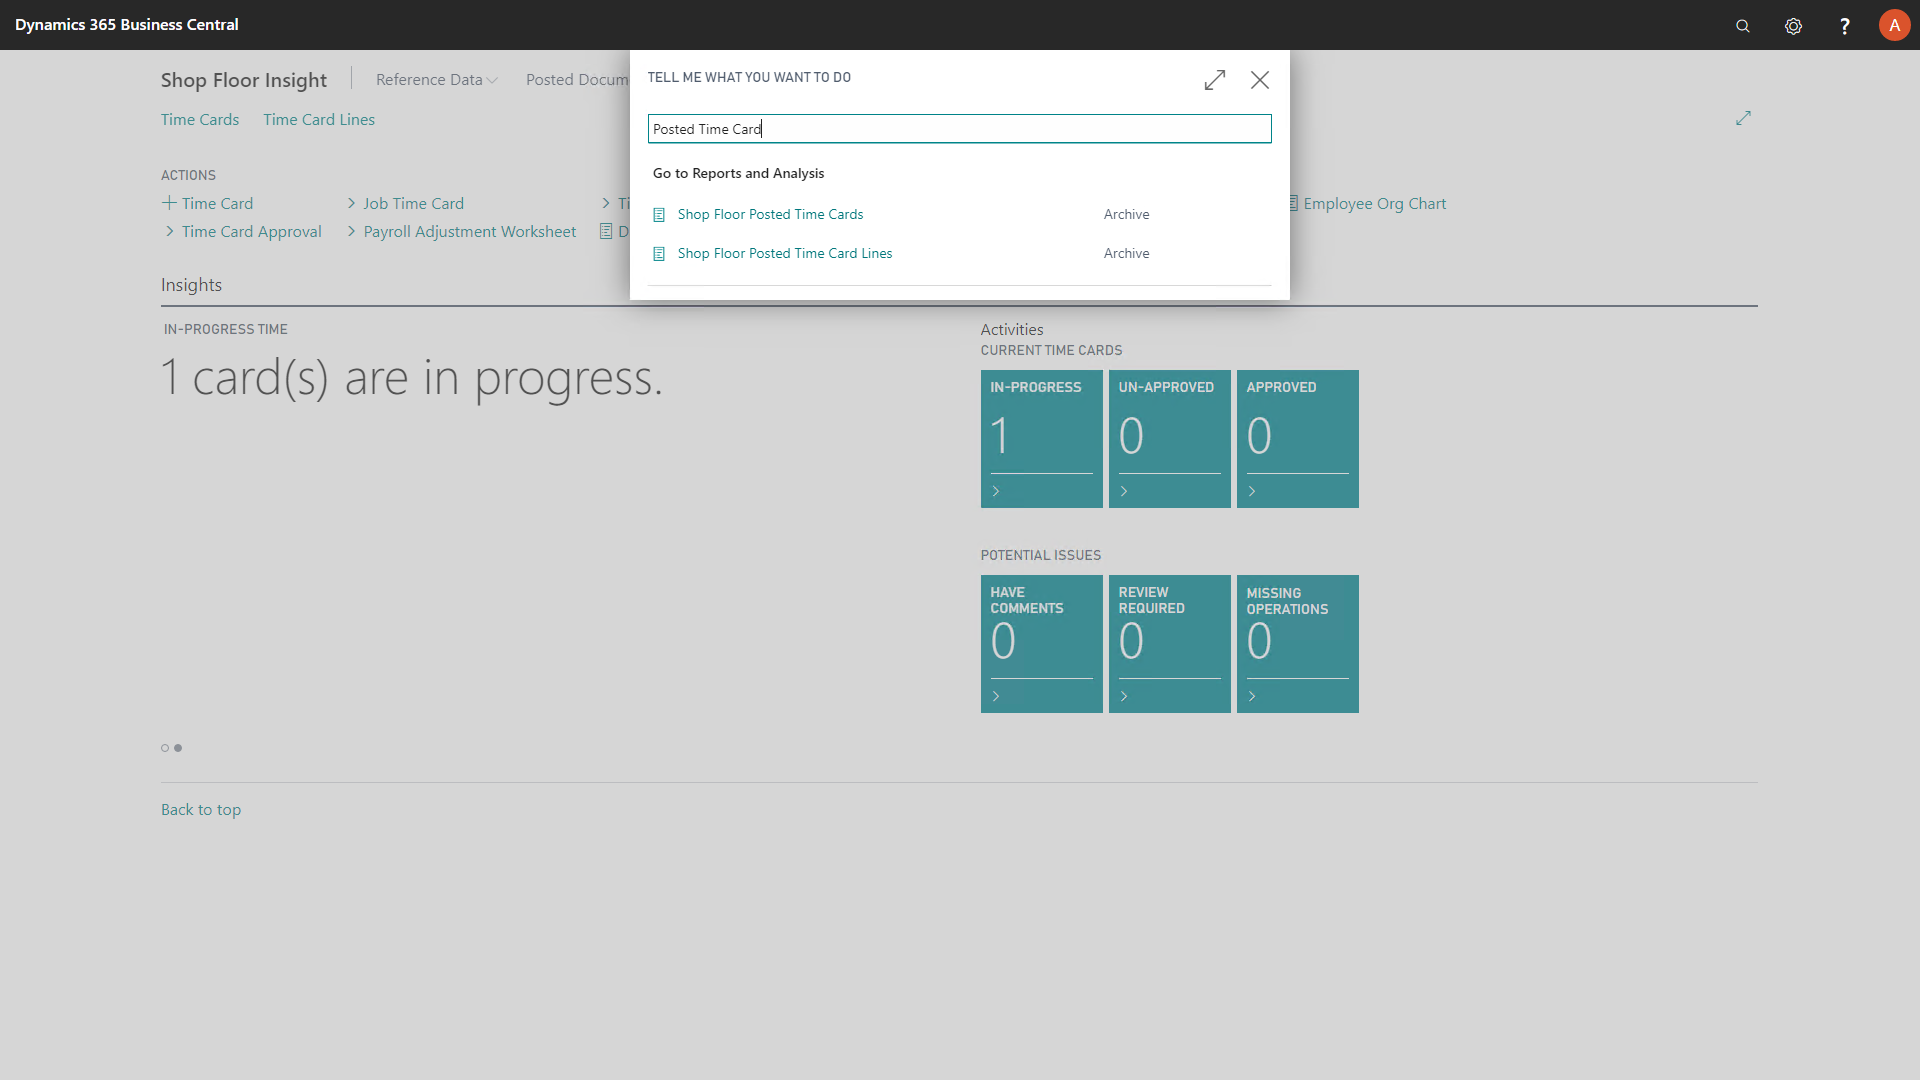
Choose the posted card for review.
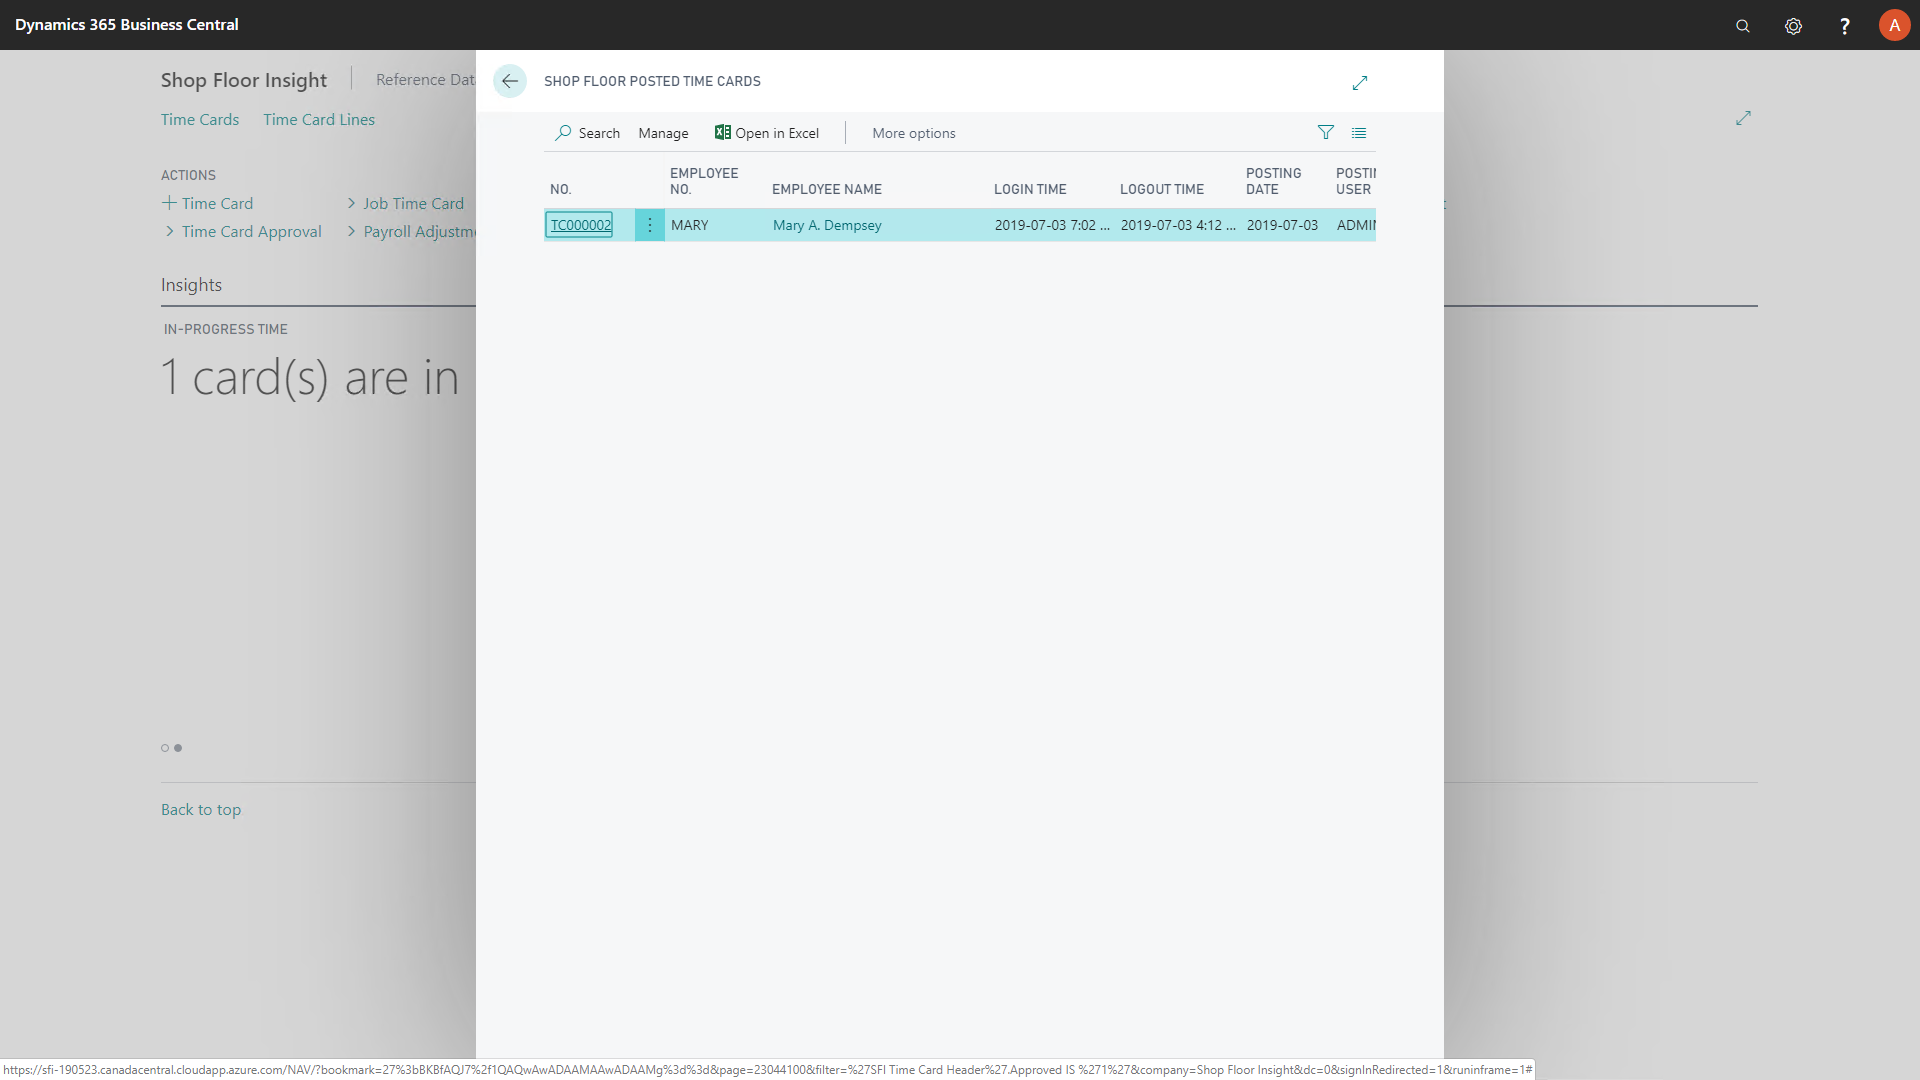
The view of a posted time card will appear very similar to an unposted time cards, except that a posted time card is not editable.
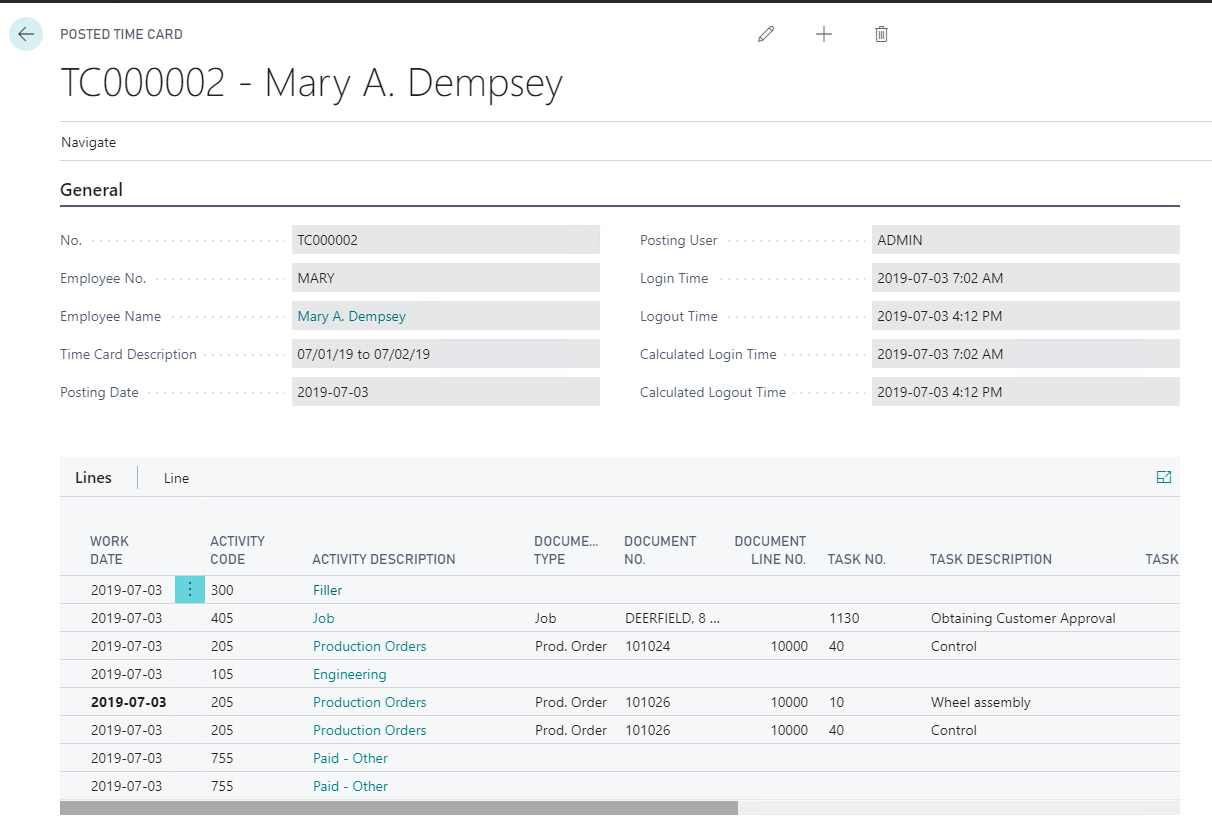
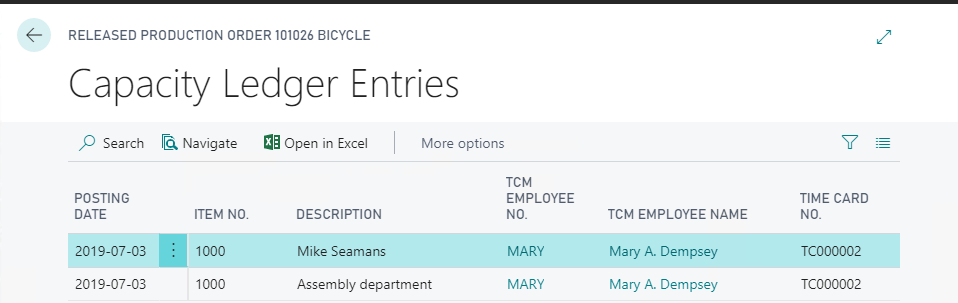
Time for each document type will be posted accordingly to chosen document. Time entries to production orders can be viewed on the production order by navigating to “Capacity Ledger Entries” (a standard Business Central screen).
To post finished goods output, navigate to the appropriate output journal in Business Central, and post the journal itself.
Output recorded in a batch from the Shop Floor does not automatically post when the time card is posted, and time from a time card does not automatically post when finished goods are recorded. Likewise, finishing a production order operation through the Auto-Finish Operations functionality does not by itself create or post finished goods output. This allows optimized shipping and warehousing processes by providing the ability to review and post material output faster than time approval and payroll processes.
Production output, operation status, and time-card posting are related production processes, but they are posted independently.
Like output, manual material consumption recorded on the Shop Floor must also be posted by navigating to the Consumption Journal in Business Central.
Before Finishing a Production Order
Before changing a released production order (RPO) to Finished, approve and post all related Shop Floor Time Cards, and post any outstanding entries in the Consumption Journal and Output Journal. These entries must be posted while the production order is Released.
If unposted time card lines exist, you will see a warning identifying a time card, employee number, and work date. For example:
Production Order 104567 has outstanding time on time card TC000123 for employee MARK on 09/02/26.
Navigate to the time card TC000123 first, and post it to have the time recognized before changing status.
Do you still want to finish the order?
If unposted consumption or output journal entries exist, a warning identifies the journal type and batch. For example:
Production Order 104567 has outstanding Consumption in batch DEFAULT.
Navigate to the Consumption journal, find batch DEFAULT, and post it first to have the Consumption recognized before changing status.
Do you still want to finish the order?
For outstanding output, the message shows Output instead of Consumption.
Still need help?
Ask other Business Central users in the Insight Works community, or send the details to the support team. Include the steps you took and any error message you saw.